


DKIM
Use DKIM to digitally sign emails and newsletters and increase deliverability.
- Authenticate as a reputable sender
By adding the DKIM key, external mail servers recognise that you are an authenticated sender. - Less spam
DKIM protects your newsletters from the spam folder and increases your reputation.
Many mailbox providers have had a DKIM obligation since the beginning of 2024, others will follow. This is why CleverReach also requires a DKIM entry for sending newsletters. The good news is that you can set up DKIM very easily.

What is the DKIM process?
DKIM for newsletter dispatch via own domain
What are the benefits of the DKIM process?
As a newsletter sender, you benefit from better delivery rates of your emails with DKIM. By adding the DKIM key, foreign mail servers recognize that your mail is not spam. The positive consequence: your newsletter is not sorted out by the spam filter, but delivered to the recipient as desired.
Check Your Email Deliverability
Good deliverability is crucial to your success in email marketing. With a few basic steps, you can optimize your email deliverability. The deliverability dashboard in CleverReach Reporting lets you keep a close eye on your deliverability at all times and provides specific tips for optimization.
Sign your emails with CleverReach and DKIM
Great Newsletter Delivery Rates with Domain Key
1. How does DKIM work?
To successfully set up DKIM for your domain, it’s essential to understand how it works:
DKIM is based on asymmetrical encryption. The first step is to generate a digital key pair that corresponds to each other when sending emails.
- The first key is the Public Key; it will be added to your DNS server and published.
- The second key is the Private Key, which is only known by the sender.
The first public part of this key is placed as a TXT record in your domain of the DNS server of your provider / host, which serves as the sender address.
The private part of the key is used to generate an individual DKIM signature for each email.* The signature is automatically inserted in the email header.
When sending your email, the receiving server recognizes the individual DKIM signature in the header. That’s the signal to look for the public key. The receiving server checks with the Domain Name System (DNS) of your domain for the public TXT data record.
If the keys match, the mail is delivered. The receiving server then "knows" that the email actually comes from the stated sender and has not been changed.
* For those who want to know in detail: The signature code is generated from a combination of the email content and the private key using a security algorithm.
2. Setting up DKIM in the domain
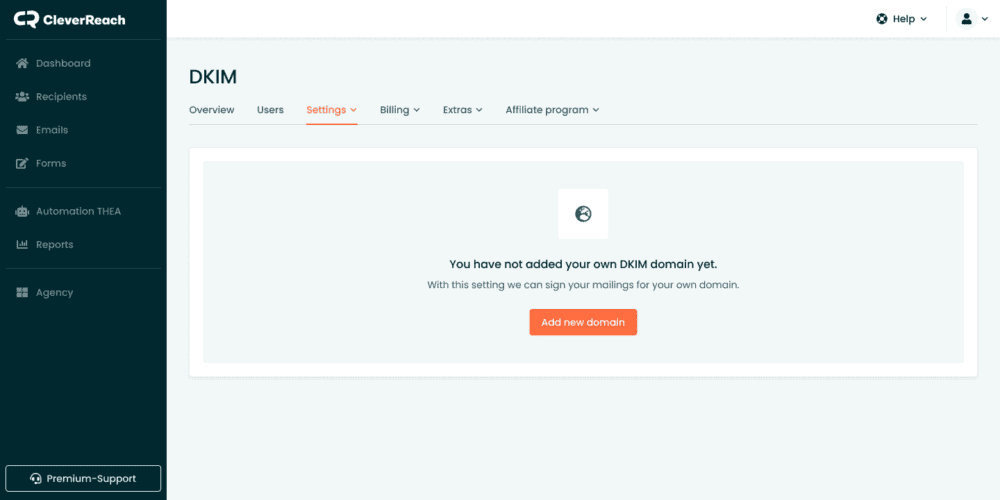
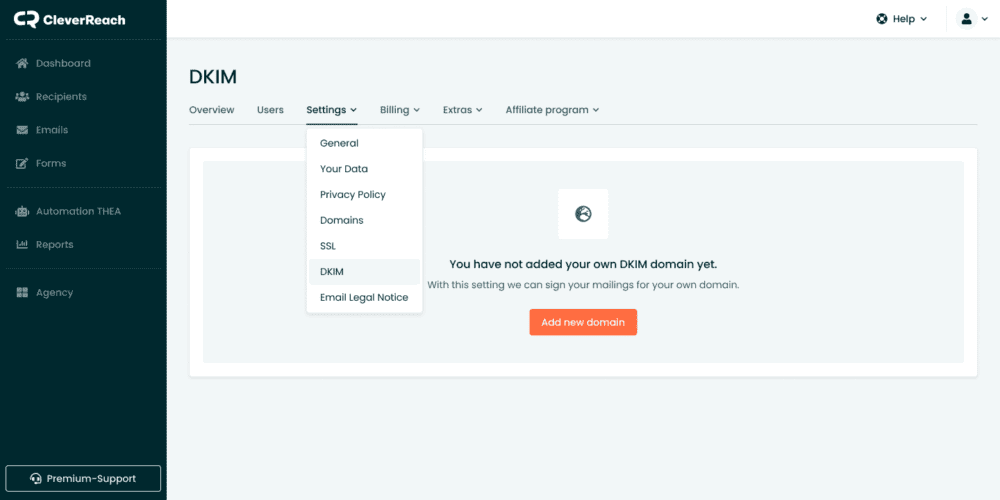
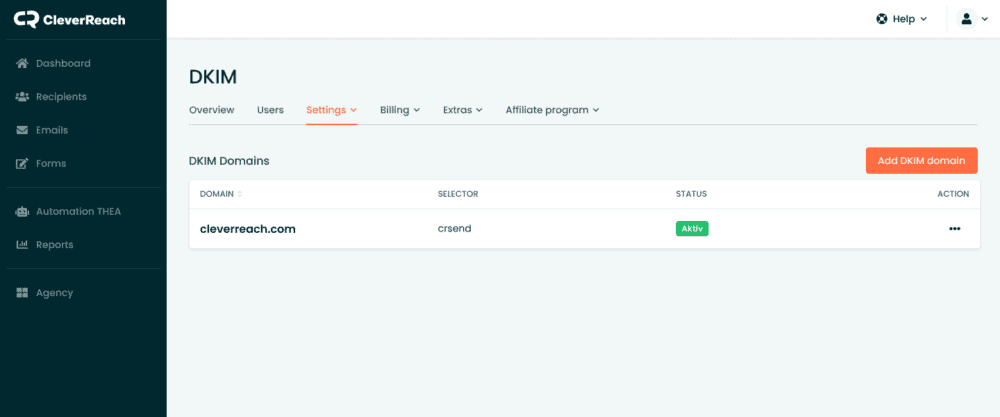
The first step for using DKIM is to add your new domain to your account. Navigate to My Account - Settings - DKIM Domains.
By adding your domain, we automatically create a DNS entry for you as a TXT record, which you have to make available to your domain provider.
You can also add the selector. The selector identifies the public DKIM key details of the domain. It is a kind of prefix to the public key. It is inserted in the DKIM signature with the tag „s=“. Very often, "default" is used for the selector. The txt entry of the DKIM signature email header then contains "s=default".
You have successfully added the DKIM key to your account? For your next step, adjust the DNS entry for the domain or have your domain provider adjust the DNS entry for you.
To get the DNS entry as TXT record for your domain, click on "i".
If you need any help setting up the DNS entry, please contact your domain provider/host.
3. Checking the DKIM entry

Have you made the DKIM entry in your domain? Now it takes one or two days until the settings become effective.
To check whether the entry has been added correctly, use our DKIM Record Check. Simply click on the Check button after the setup. The system checks in the background if everything has been set up correctly and whether the DKIM signature is working.
- If the setup was not verified, please wait 24-48 hours before you try the verification again.
- If the verification was successful, the DKIM domain is active and DKIM has been set up successfully.
If you no longer want to use DKIM, you can delete your domain. Please note that as soon as you remove the domain from your account, your emails are no longer signed with this domain.
Please note:
- If you need any help setting up the DNS entry, please contact your domain provider. The CleverReach support cannot assist you in this case.
- The feature is not available in our Lite plan.
4. DKIM email authentication for higher delivery rates
DKIM - amongst SPF and DMARC - is one of the most important protocols for the authentication of email senders. It makes email delivery more secure.
When checking the DKIM keys, email clients recognize whether the email actually comes from the stated sender and whether it has been manipulated. If the private and public keys match, the email usually ends up in the mailbox - and your recipient can look forward to great offers and news.
If the two keys do not match, the email client assumes that the mail has been manipulated and the mail is not delivered.
DKIM is also a security measure for the sender, as they can assume that they end up on the allowlist with a DKIM signature and are listed as a reputable sender. As a result, they can enjoy high delivery rates and do not have to fear that their newsletter will be sorted out as spam or, in the worst case, that their sender address may get blocked. This would have a negative effect on your reputation as a sender.
5. Setting up the DNS entry

What you can do in your CleverReach account:
- Create DKIM key
- Generate DNS entry
The DNS entry generated by CleverReach is a TXT record. This DNS record must now be added to your domain.
You can find the instructions for adding DNS entries at your respective web hosting provider. Since the steps are different for each provider, we unfortunately cannot offer you any help at this point.
It can take up to 48 hours before the DKIM signature is effective. Test the entry as described above under point 3 or use an external DKIM Record Check.
Get started for free with CleverReach

Ready to get started? Just pick the one that works best for you from our range of price plans. Customizable at any time and no hidden costs.
- no setup fee
- multi-lingual service team
- detailed guides, helpful video tutorials, and inspiring blog posts
