


Tags as triggers in email automation
Tags as triggers for sending automated email routes
Target group-orientated approach
Send your recipients the content and products that really interest them.
Less effort
You create the tag-based automation route once - your recipients automatically receive content that is relevant to them.
Higher opening rate
The better the content is tailored to your recipients, the more successful your newsletters will be.
Benefit from tag-based email marketing automation
What does TAG or tagging mean?
The meaning of TAGs translates as "label", in the context of email marketing it also means "keyword". Tagging means that your recipients are automatically labelled with a keyword when they react to something. Provided you have set one or more links in your newsletter in this way, a click on these links will be "translated" into TAGs. These TAGs are attached to the recipient's data record. Tagging allows you to get to know your recipients better and better: The more TAGs are attached to a recipient data record, the more you know about their interests.
Advantages of tags in email marketing automation
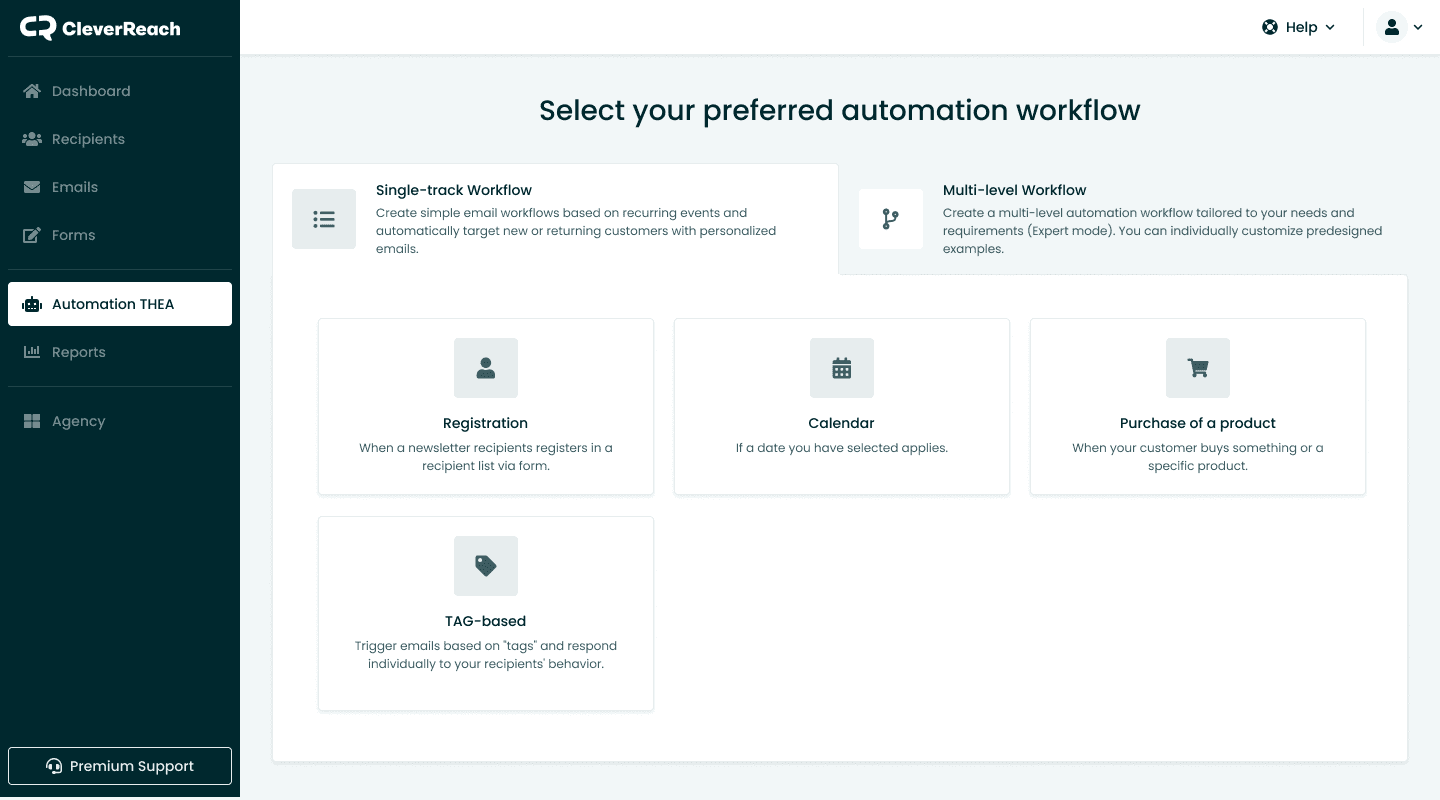
Set up tag-based email marketing automation
The automation can be customised:
- You decide which TAG starts the automation route.
- You can set different waiting times until the first newsletter and between the individual emails in the newsletter route.
- You are also completely free to customise the content.
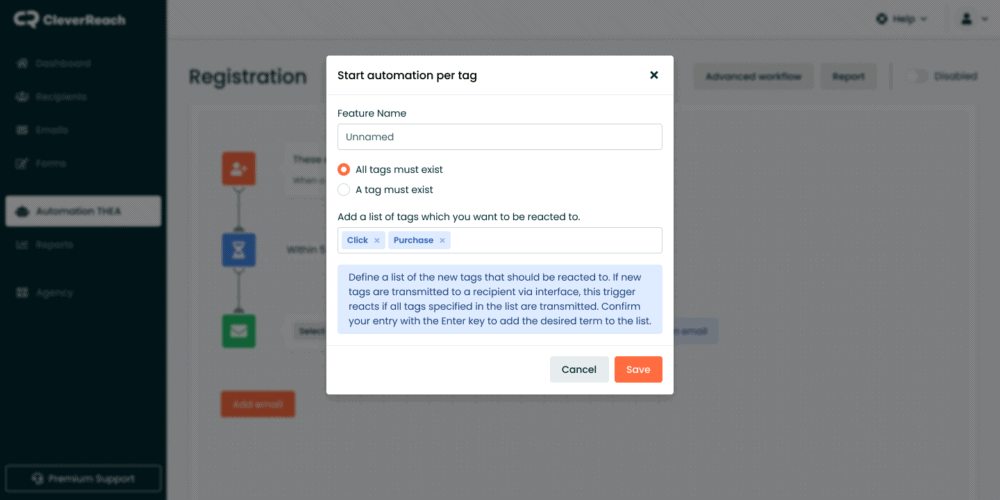
You can create TAG-based e‑mail automation routes either as simple automation or or in the extended workflow. TAGs can be assigned in different ways:
- Automatically via interfaces, for example after subscribing to a newsletter or making a purchase.
- By the click behaviour on links in mailings, links are assigned TAGs. You can find out more about this in this Help Centre article: „Assigning TAGs by clicks in mailings.“.
- Manually in data records by adding individual TAGs to individual recipient data records. You can attach a TAG to a recipient using the "Change data" module.
- TAGs can also be added to the recipient via REST API.
Get started with CleverReach now!
Specialising in target group-oriented marketing campaigns, our email marketing software supports you effectively in the successful implementation of email marketing campaigns. Manage up to 250 recipients and send up to 1,000 emails per month free of charge!
How tag triggers work in the CleverReach Automation Centre
This is how tags are set - and this is important to know
1. Option: Automatic tagging
When using some of our shop interfaces, TAGs are automatically transferred, for example after a purchase, a page view or a newsletter registration. Each visit, purchase or registration leads to a new TAG - and adding the TAG starts an email automation after the specified waiting time.
Example of newsletter registration
As soon as the new subscriber has successfully registered for the newsletter, they are transferred to the CleverReach recipient group as a new "recipient" and automatically receive the corresponding TAG (e.g. "newsletter recipient"). This triggers the automation.
TIP: The welcome newsletter should not be too long in coming, because the open rates are particularly high directly after the double opt-in, as your recipient has just explicitly said "yes" to your newsletter. In this situation, every e‑mail with information or news is very welcome. Take advantage of this and prepare a multi-stage newsletter campaign to welcome them.
Example of a purchase in your online shop
If a customer finds what they are looking for in your shop and successfully completes the purchase, they automatically receive a TAG (e.g. "Buyer"), whereupon you can entice them with the next offers - also automatically.
TIP: Upselling! For example, if a recipient buys new shoes from your shop, you can send them matching offers by email, in this case shoe care or cleaning products.
3. Trigger automation chain
If a TAG is added to a recipient data record, this is the trigger that initiates the previously created automation chain. CleverReach then sends the corresponding email campaign. When subscribing to the newsletter, it makes sense to start with a welcome email in which the new newsletter recipient is greeted and receives their welcome voucher, for example. Further emails can follow at predetermined intervals, for example with information only for newsletter subscribers.
4. Important information on triggering the triggers
The tag trigger only triggers under certain conditions:
- if a new tag is set: if the tag already exists, the chain is not triggered. It does not matter whether the tag is set automatically (via REST API) or manually.
- Only for individual recipients: if several recipients are transferred automatically (via REST API) at the same time (in a so-called REST call), the trigger is NOT triggered for security reasons. Otherwise, all recipients would fall into the respective chain during the initial import via the interface. As a result, even long-time newsletter subscribers would be sent the welcome email again.
- The tag function is intended exclusively for the targeted control of individual recipients.
- Tags must be transferred automatically (via REST interface) using the respective group function.
- There is also a function for setting tags in the recipient area, but this does not work (deliberately!) as there is no group assignment here.
5. Tips for your tag-triggered welcome section for your online shop
- The welcome section should not differ in appearance and content from the subsequent regular newsletter and should match the brand world of the shop.
- Make sure you address your recipients personally to increase the relevance of your newsletter. As an online retailer, this allows you to build a personal relationship with your recipients, comparable to a shop owner shaking hands to welcome a new customer to the shop.
- Have the company owner or real employees greet your new subscribers with texts and images that match the shop. It goes without saying that these senders can then actually be contacted by the customer and are not unreachable by a "Noreply" email address. It is helpful to get to know your customers better in order to be able to make them more and more suitable offers. Incorporate a few simple questions into your welcome email, such as their birthday or place of residence.
- Conversely, you can also help them to get to know you and your offer better and better. The welcome section is also ideal for this. Communicate shipping costs or return conditions, for example, and draw attention to special services.
Start now for free with CleverReach!

Ready to get started? All you have to do is choose the right price plan for your needs. Send an unlimited number of emails to your recipients at a flat rate price or buy a fixed email quota.
- No setup fee
- Multi-lingual service team
- Detailed instructions, helpful video tutorials and inspiring blog posts
